You can manage your report layout through the website. Go to 'report layout':
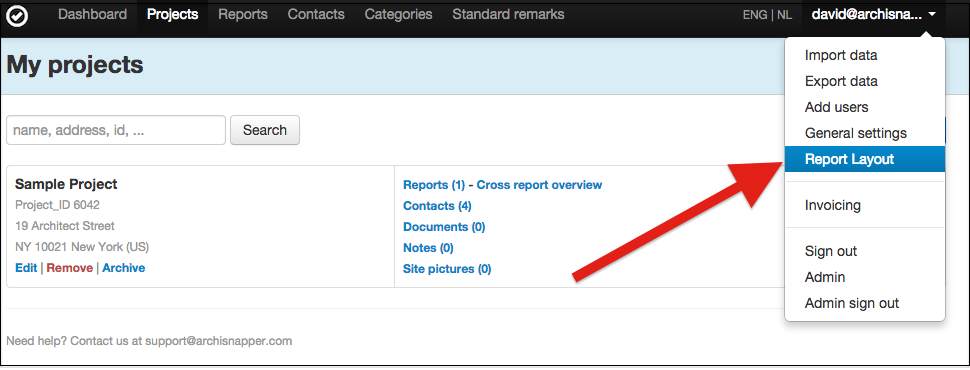
Online account: report layout
1. Layout name and settings
In the first two sections of this report layout (Layout Name and Layout Settings) you can chose the name for this layout and define some settings (like picture size, font type, font color, display for inherited observations, etc.).
An important setting is the 'Template' setting, as this defines the structure of the observation list in the reports. Feel free to play with this setting and check out how your reports look.
Note: inherited observations are observations that were cloned when starting from the previous report.
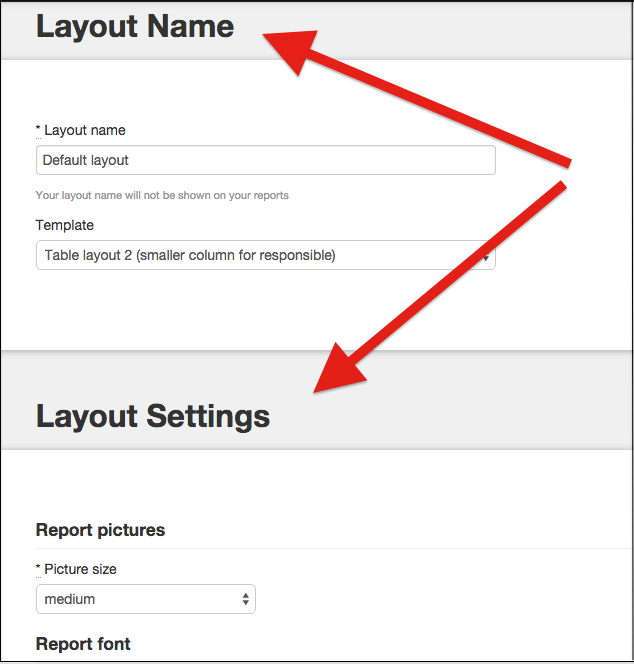
Report layout: name and settings
2. Report logo and general texts
In the section 'Report logo and texts' you can insert your logo and manage all standard text that will appear on your reports (like header, footer, company info, section titles, column titles, general conditions, ...):
- Logo and company information: upload your logo and this will be shown on the left top in your reports. Enter your company information and this will be shown on the right top in your reports:
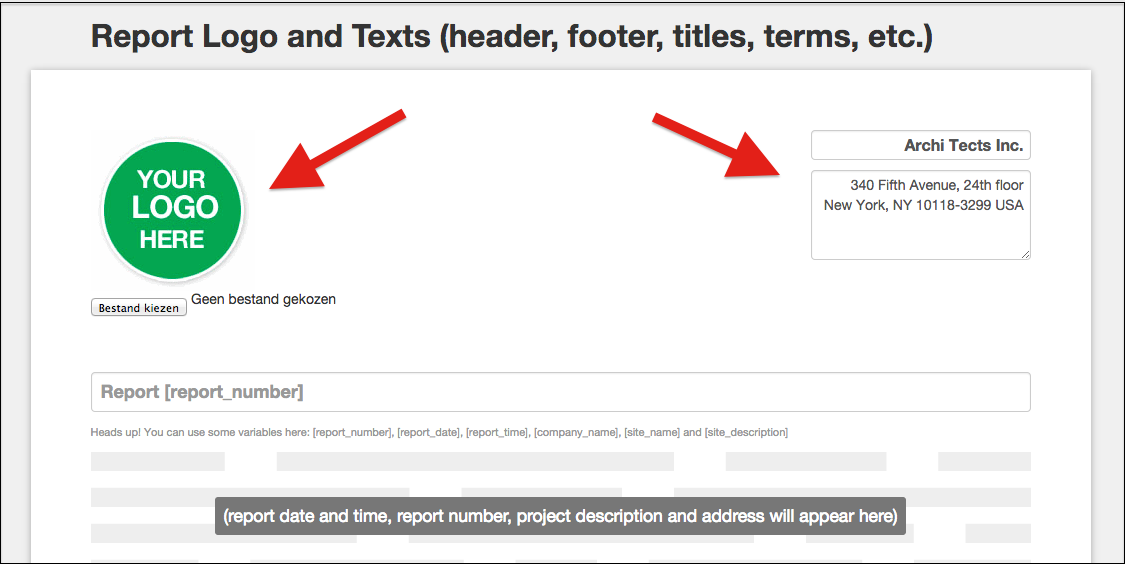
Report layout: logo and company info

PDF report: logo and company info
- Report title: you can make use of variables here. Variables are always placed between square brackets. Using variables means that the corresponding values (ex. project number, project description, report date) will be filled in automatically so you don't need to enter this manually every time (when editing a report or sending a mail). 'Report [report_number]' means that for every field report created the report title will be 'Report' followed by the 'Report Number'. The report number is composed of the Project Number of this project and a sequence number for the reports. Example: for the third report of project 123, the report number will be 123-3.
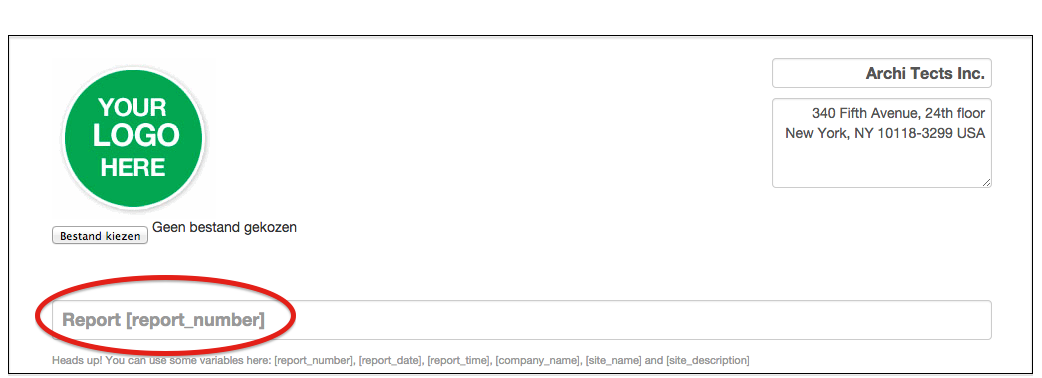
Report layout: report title

PDF report: Report title
- The next section in the reports is the 'status'. You can change this title to whatever you want and it will appear like this in the reports.

Report layout: Status
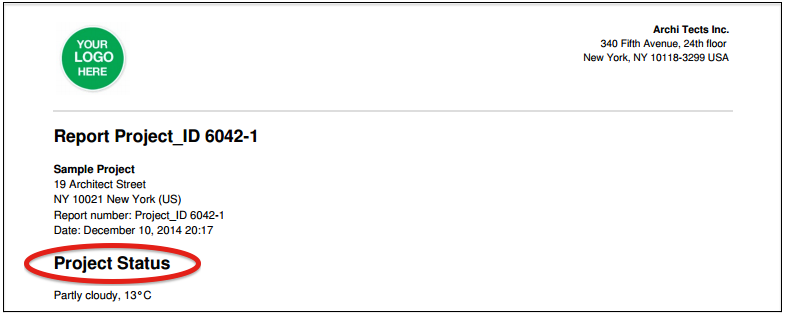
PDF report: Status
- Next we have the first of three free text blocks: more info on working with free text blocks can be found here.
- Contacts table: This is the table listing all the contacts for the project together with indication who was present on the job site and to whom the report has been sent. This last column (to whom it has been sent) is filled in when the report is being sent with ArchiSnapper. Here in the report layout we can manage the title for this section and also the column headers of this table.
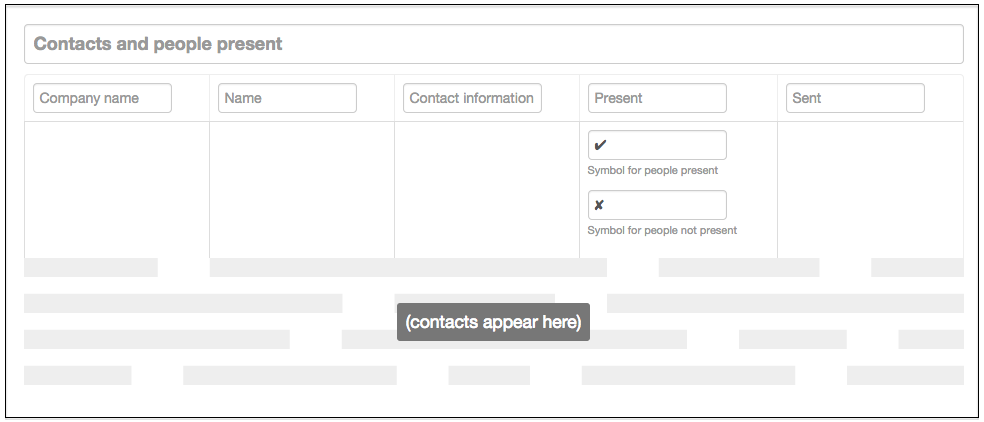
Report layout: contacts table
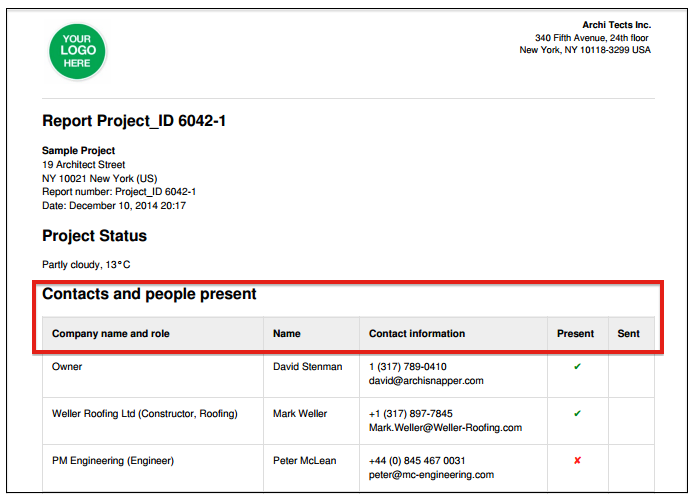
PDF report: contacts table
- Remarks table: this is the table listing all observations (together with descriptions, pictures and sketches, people responsible, etc.). Here again we can manage the title for this section and also the three column headers of this table.

Report layout: remarks section
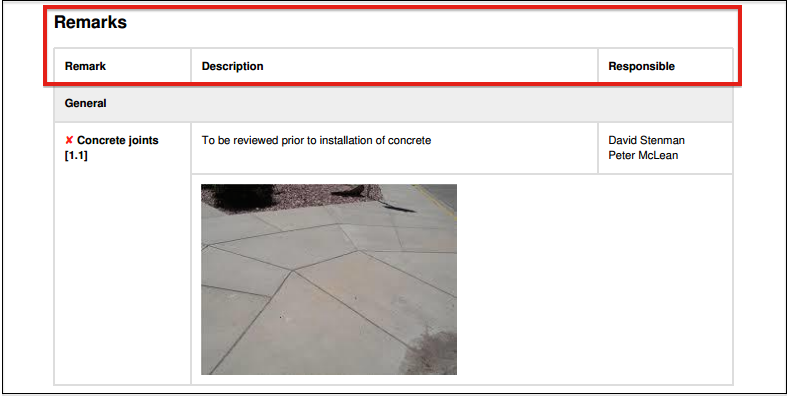
PDF report: remarks section
- Documents section: this is the table listing the documents to follow up for this project (which documents/plans are already received, which are yet to receive, etc). If you're not using this functionality, then this section will not be displayed in your reports. Here again we can manage the title for this section and also the column headers of this table.

Report layout: documents section
- General conditions: at the bottom of every report these general conditions are displayed. You can edit both the title content of this section from your report layout.
- Footer: will be shown on every page in the footer.
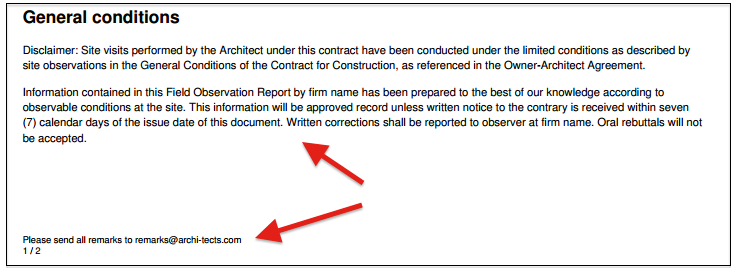
PDF report: general conditions and footer
